This Blog
1/12/2022It seems fitting that the first post in the tech series explains how the blog itself is made.
The idea came from a HackerNews thread that I read a while ago, about what technology people were using for their blogs. Unfortunately, I haven’t been able to track down the specific thread, but one guy in there mentioned generating his blog from Google Docs. Some months later when I wanted to start writing this blog, I looked into the classic static blog generator solutions and settled on Hugo. After a while though, it got too weird wrangling Hugo themes with its configuration DSL. I already know HTML and CSS really well, why would I want to spend time learning another config language that translates markup to these in weird ways!?!
So I ditched that (except for the nice Hugo cactus theme, from which I stole the styles and font) and decided to go back to basics and build my own static blog generator without any weird fluff. Based on that HN guy’s suggestion, I decided to try generating it from Google Docs, using the Google Drive API, because I think it is a pretty nice editor, with support for copy-paste image insertion and good typing assistance. And it is available everywhere. Also, I already sold my soul to Google long ago, so no problems there.
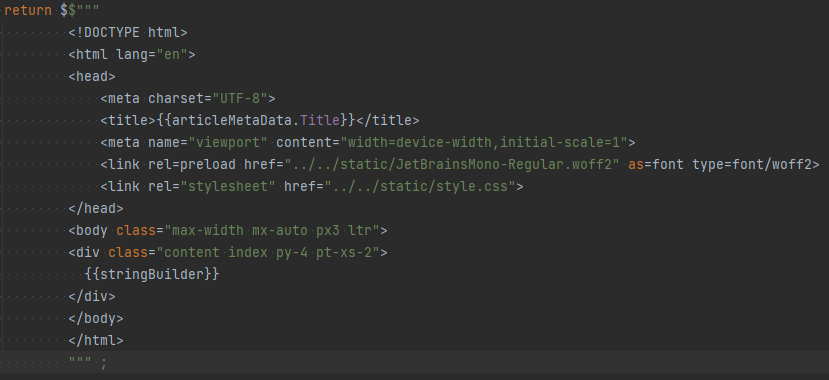
C# 11 had just come out in preview, so I decided to forego a templating library and try out the new Raw String Literals feature, which allows for multiline strings without having to escape anything. So the way I built the pages was by hand coding the html and css in html files, after which I would take the entire file and copy it into a raw string literal.
Fun Fact: When I began working on this, Rider (my IDE) did not support raw string literals and would try to “help” me when editing by destroying the formatting, and generally be made of squiggly red lines. So I used Visual Studio Code for those parts 😋🙃 Rider has support now fortunately, so it looks like the image above, although no language injections yet.
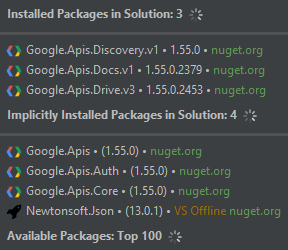
As mentioned, I use the Google Drive API to download the Docs files and create the articles. To get it working I included the Google Drive packages in the project using Nuget and followed a guide somewhere to create API keys.
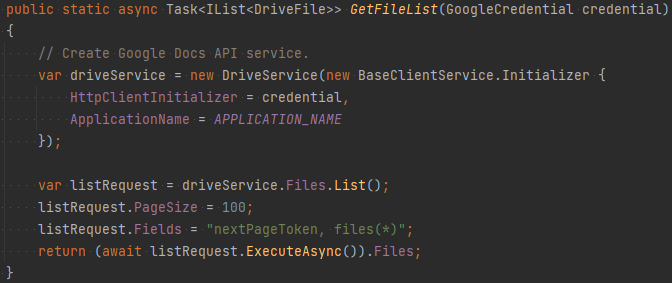
I don’t remember what the guide was, and I am too lazy to look it up, but the end of the story is that I was instructed to create some credential files, which are read into memory at the start of the program and used by the google packages when making requests. See examples of these files in the README on github.


The credentials are first used to get a list of drive files metadata, and later to get the actual content in the blog Docs files (which are known because they are in either the “Tech” or “Finance” folders under “Blog” folder)

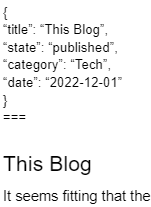
The first thing that is parsed is some metadata at the top of the document, which is separated from the actual article content with “===”. It is written in json, so I don’t have to write my own parser, I can just get the text until “===” and throw it into a json parser. The metadata is later used to display the post in the frontpage by category, sorted by date. If the state is not “published” it is not shown at all.

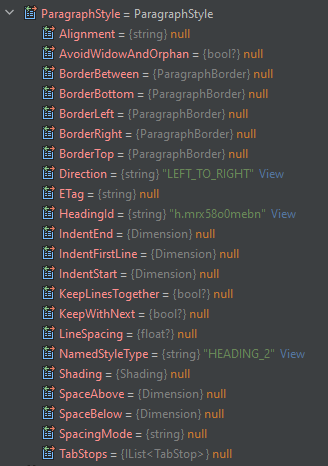
After this, the actual article content is parsed. Instead of reading through any documentation I would just debug and see what data is read into the models, to figure out how to parse them. For instance, the paragraph below is a header (because the NamedStyleType property value is “HEADING_2”). That is then added to a StringBuilder as a h1 tag.

Same for the rest of the types (except more complicated 😃 check out the source if you are interested in the rest). After the entire document has been parsed, the stringbuilder output is put into a raw string literal and written to a new html file.
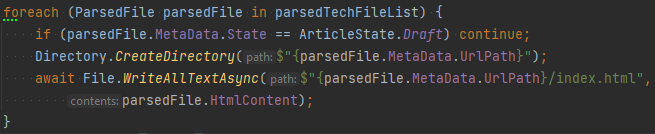
The finished file structure after a run looks something like this:

Once the files have been created, they are copied to a small VPS hosted by Hetzner, served by Nginx.
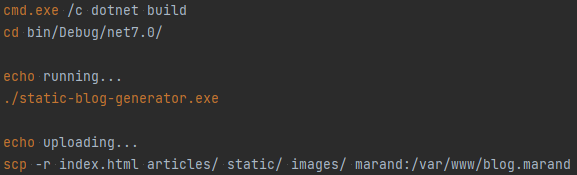
This could also be run in a cron job on the server, then I could edit posts on the fly and have them be updated at some point, but for now I just run it from my PC.
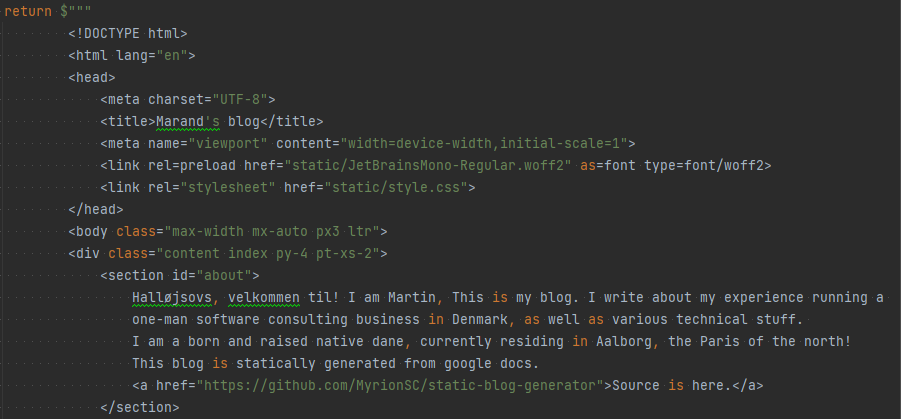
That is basically it. It has been pretty satisfying writing a static blog generator, because you can do small chunks at a time and quickly see the results, although it took a lot longer in its entirety than I expected (but such is programming life. See Hofstadter’s law). It can still be improved. For instance, you may have noticed that all the code shown in this article are in images. That is because I haven’t gotten around to implementing code snippets yet 😀 Maybe I will get to it later, but images are fine for now. Source can be found here. Thanks for reading.